Install BitNinja in CloudJiffy with One-Click
BitNinja is an easy-to-use, maintenance-free server security tool. It acts as an agent that resides in your infrastructure and sends information about an attack to a cloud server.
The servers protected by BitNinja collect and exchange information about attacks with each other, accumulating a knowledge base. If the attack occurs on a server protected by BitNinja and the IP is blocked, it will be blocked on all servers protected by BitNinja around the world. This BitNinja technology is called a Deffense Network.
Features:
- Realtime IP Reputation
- Honeypots
- WAF
- Log Analysis
- DOS Detection
- Malware Detection
Why use it on CloudJiffy?
- Easy to manage.
- One-Click Installation.
- Real-time scaling with an increase in users.
- Data replication and backup solution to keep your data safe.
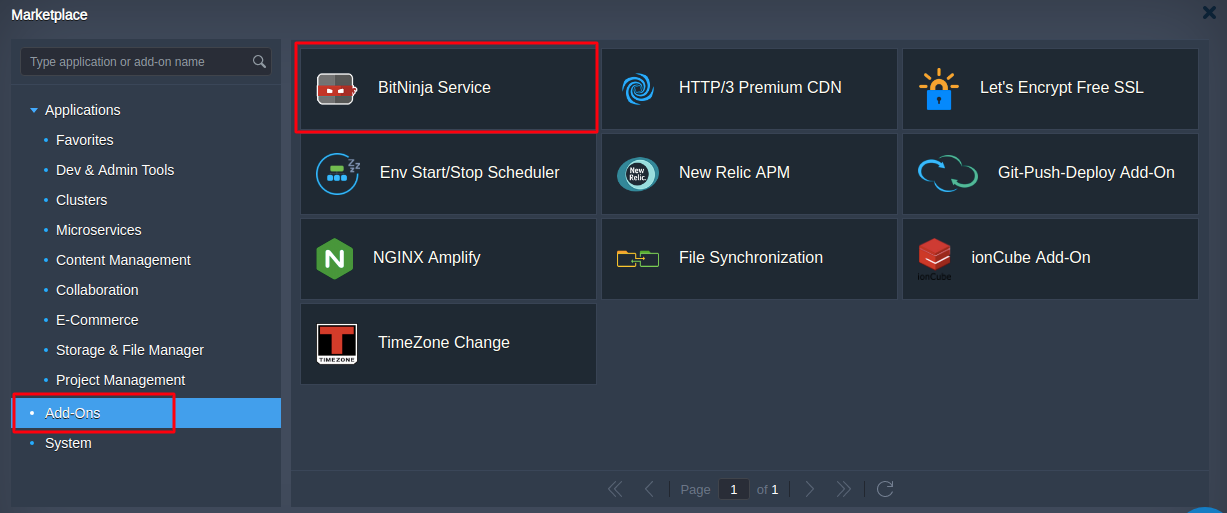
- Highly secure infrastructure.The process is simple –visit our Marketplace and click on Add-Ons search for BitNinja. Give your environment a name and click on Install. Done!
Install BitNinja on CloudJiffy?
Step 1: Login to CloudJiffy.
Go to https://cloudjiffy.com/ for your account or Log into your CloudJiffy account.
Step 2:Click on “Marketplace” to view the list of applications that can be installed automatically.

Step 3: A new window displaying the Apps will open, Select the “BitNinja” instance and click on “Install”.

Step 4: In the opened installation dialog box:
- Type Environment name to be used as its internal hostname
- Select Node (if multiple ones are available) and click install.

Step 5: Let the package install completely.

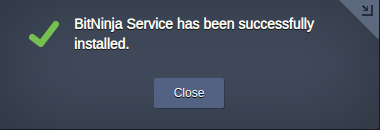
Step 6: You’ll get he notification box, once the installation is successfully completes.

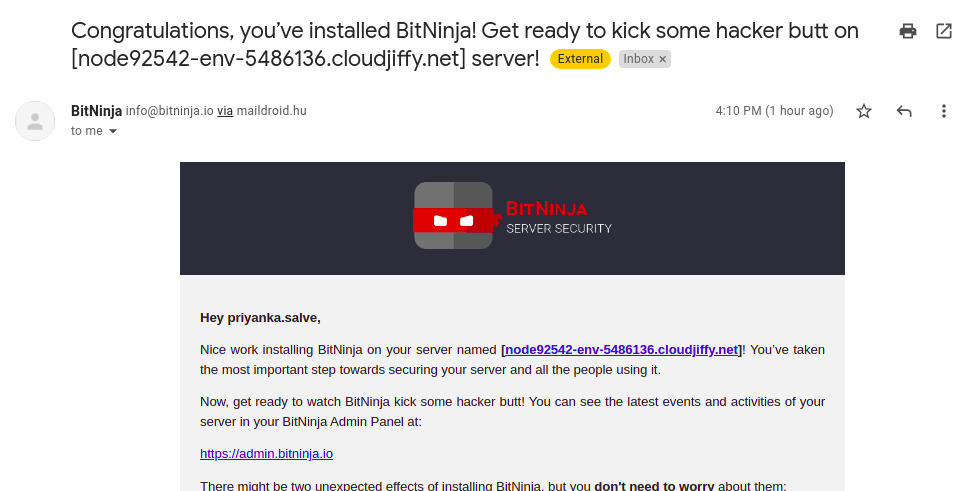
Step 7: Check your Email you would have been received BitNinja details.

Step 8: Once you open the link – https://admin.bitninja.io you will be able to login BitNinja dashboard successfully.

That’s it!
Don’t have a CloudJiffy account? Visit https://cloudjiffy.com and click on Free Signup for a free 14 days trial.
Happy Hosting!
