
One-Click Install Node-RED in the CloudJiffy

Due to applications and components in the global IoT (The Internet of Things) ecosystem getting more and more interrelated, it becomes essential to be capable of wiring them together to achieve automation. Advanced connectivity of systems allows to eliminate repetitive programming tasks and therefore – to free time for research and development.
One of the tools to make different systems interact with each other is Node-RED – a simple programming tool for binding online services, hardware devices, and APIs in an interactive and visually-appealing fashion. It provides a browser-based editor and a wide set of nodes to build and deploy various functional flows.
Within this article, we’ll take a look at a solution we’ve implemented for quick Node-RED delivery and will deploy a sample flow of Twitter streaming data analyzer to store and alert upon posts on any theme you are interested in.
A Simple Way to Run Node-RED Instance Within a Cloud
At Cloudjiffy, the ready-to-go Node-RED development environment is provided as a single-click installation package. It is available within Cloudjiffy JPS Collection on GitHub alongside with other preconfigured solutions.
All the required resources and settings for running Node-RED on Cloudjiffy are declared within the package manifest.jps file, where the main points to consider are:
- nodered/node-red-docker Docker image with the latest tag is used as a solution base
- created Node-RED instance is assigned 8 dynamic cloudlets, which enable it to scale vertically up to 1 GiB of RAM and 3.2 GHz of CPU.
- automatically attached endpoint allows to access Node-RED admin panel through a randomly allocated port at Shared Load Balancer (eliminating the necessity to purchase Public IP address)
Why use it on CloudJiffy?
- Easy to manage.
- One-Click Installation.
- Charges based purely on consumption (Pay As You Consume pricing) This helps you save cost.
- Real-time scaling with an increase in users.
- Data replication and backup solution to keep your data safe.
- Highly secure infrastructure.
- Inbuilt CDN to cater to a worldwide audience.
The process is simple – just click Install, type your email and install Node-RED in a minute skipping the steps of manual installation.
Environment Creation
Through the Cloudjiffy web interface, a Node-RED instance can be automatically deployed in a few clicks.
STEPS
Step 1: Login to CloudJiffy.
Go to https://app.cloudjiffy.com/
Login using your credentials.
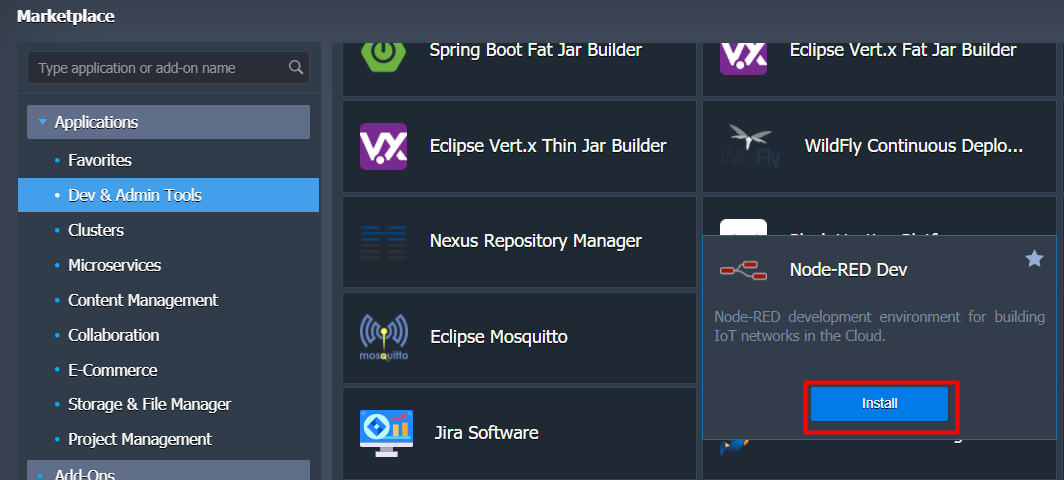
Step 2:Click on “Marketplace” to view the list of applications that can be installed automatically.

Step 3: A new window displaying the Apps will open, Select the “Node-RED” instance and click on “Install”.
Step 4: In the opened installation dialog box:
- type Environment name to be used as its internal hostname
- optionally, specify environment Display Name (so-called alias, for being shown within dashboard and SSH terminal)
- select an environment Region (if multiple ones are available)
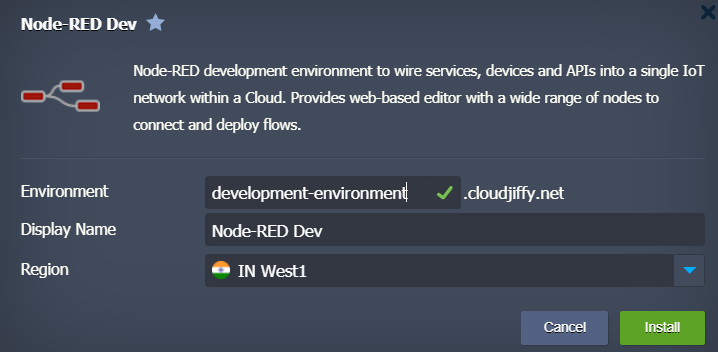
Click Install and wait a bit to be shown a notification message on this process completes.
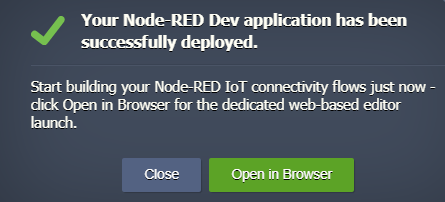
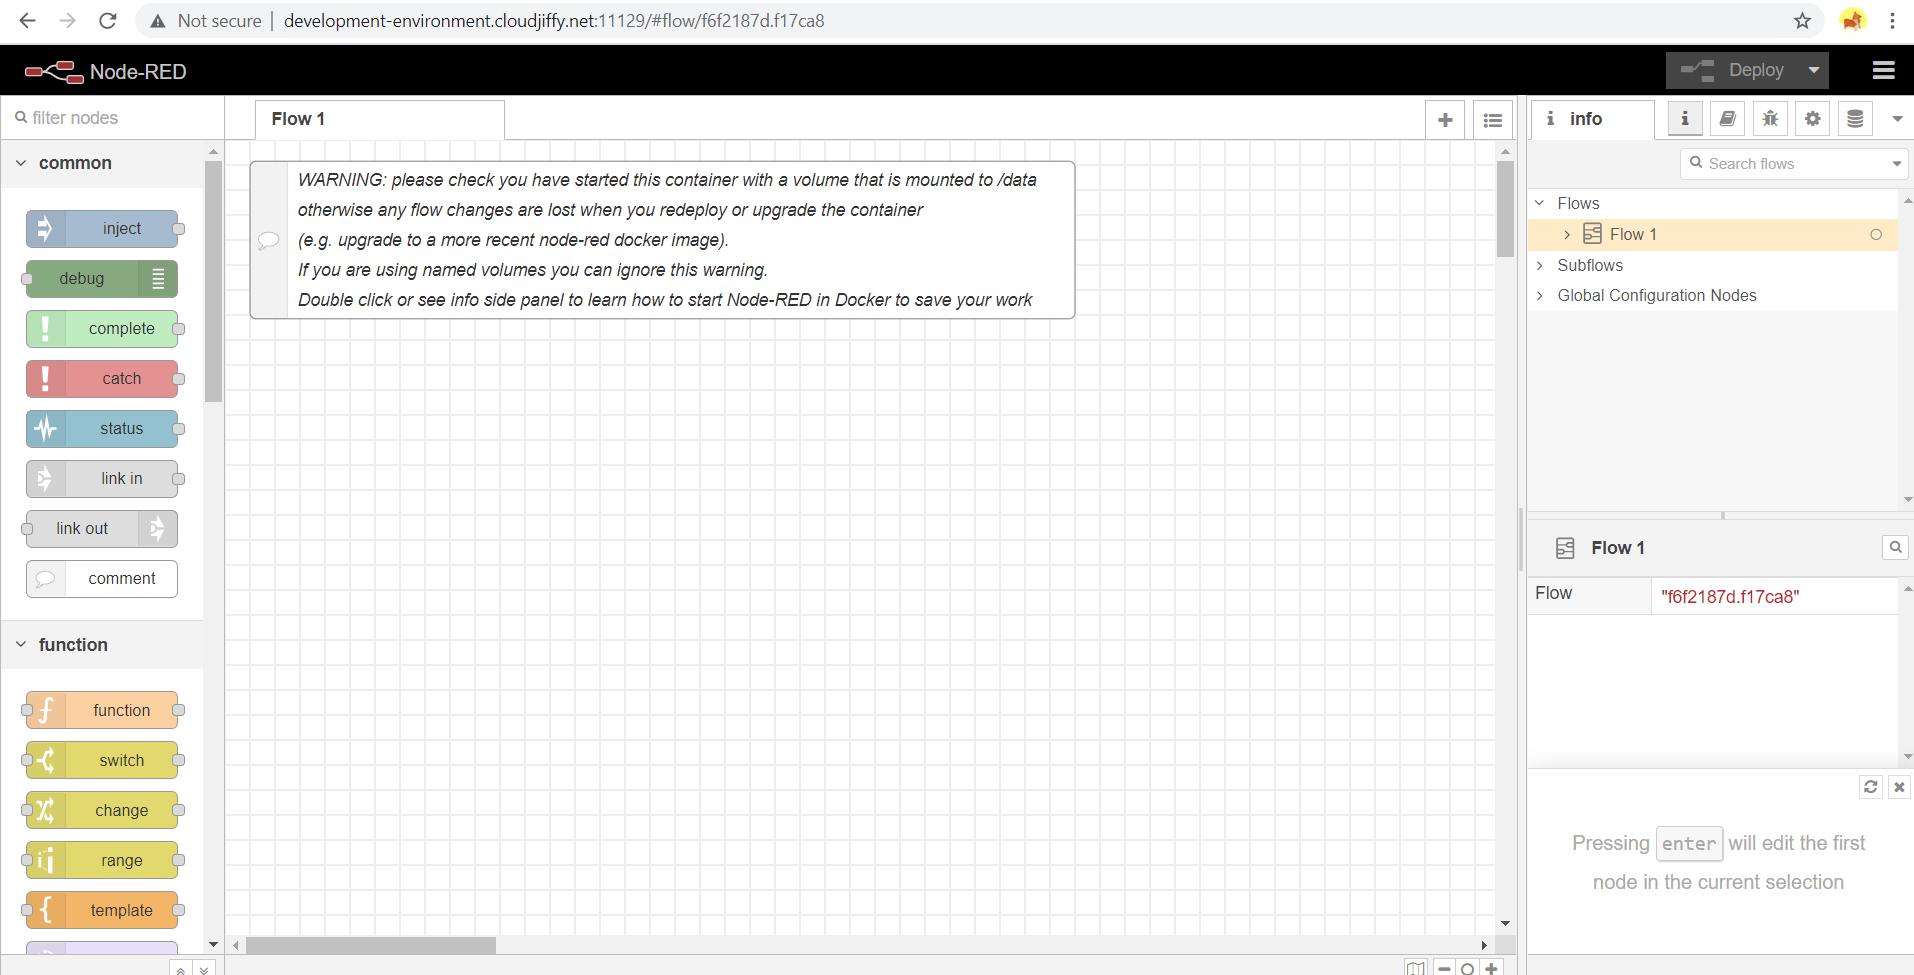
Click Open in browser to access the Node-RED development environment and start creating your first project (so-called Flow).
Don’t have a CloudJiffy account? Visit https://cloudjiffy.com and click on Free Signup for a free 14 days trial.