
Jenkins DevOps Pack Deployment on Cloudjiffy at One-Click

Jenkins is an open-source continuous integration and delivery system designed to ensure build and deploy automation. It is well-suited to be installed in the cloud to run self-hosted pipelines.
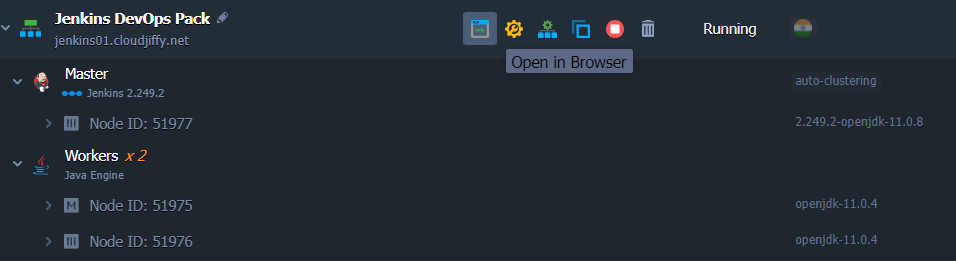
Jenkins supports clustering via master-slave mode. A build process can be delegated to several slave (worker) nodes. This allows serving multiple projects in a single Jenkins cluster setup.
In this article, we’ll describe how to install the Jenkins cluster with slave nodes auto-discovering and self-registering inside a master node. Cloudjiffy PaaS implemented this solution in Jenkins DevOps Pack that can be installed from the Marketplace or through the environment setup wizard as a New Environment. In this tutorial, we’ll cover both. Also, you will find out how to build a simple Java project hosted on GitHub using the Cloudjiffy Maven plugin.
Why use it on CloudJiffy?
- Easy to manage.
- One-Click Installation.
- Charges based purely on consumption (Pay As You Consume pricing) This helps you save cost.
- Real-time scaling with an increase in users.
- Data replication and backup solution to keep your data safe.
- Highly secure infrastructure.
- Inbuilt CDN to cater to a worldwide audience.
Jenkins DevOps Pack Installation
Installation from Marketplace
You can automatically get a preconfigured ready-to-work Jenkins Application instance up and running within minutes using Cloudjiffy Marketplace.
- Log in to your Cloudjiffy account and click the Marketplace button at the top of the dashboard.

2. Access the platform dashboard, click on Marketplace > Clusters, find Jenkins DevOps Pack, and press Install.
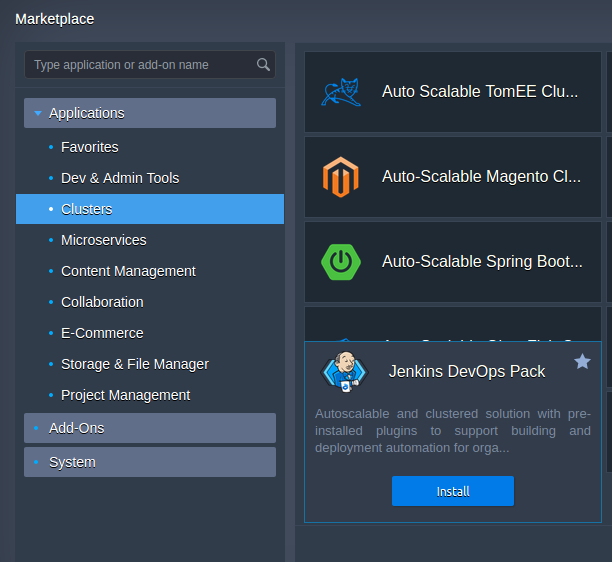
Hover over the located package and click Install.
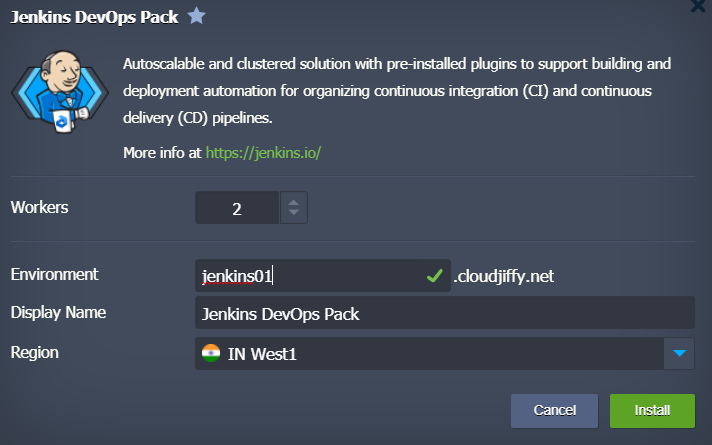
- Within the appeared installation frame, you can adjust the following fields:
Here you can specify a path to your git repo and change the env name, it will be your application domain.
- Environment – set your environment name
- Display Name – define a preferable alias
- Region – select the environment region (if multiple are available)
Proceed with the Install button.
4. Wait for successful deployment
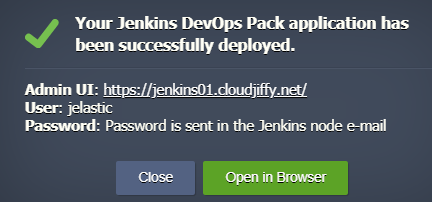
The first time application deployment takes longer. After this point, your application should be deployed and ready to handle requests.
5. Open in browser
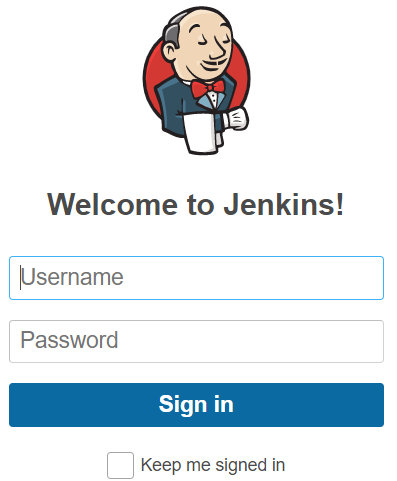
Sign in to the application using the credentials shared with your email.
Don’t have a CloudJiffy account? Visit https://cloudjiffy.com and click on Free Signup for free 14 days trial.