
Ampache on Cloudjiffy
Ampache is a web-based audio/video streaming application and file manager allowing you to access your music & videos from anywhere, using almost any internet-enabled device.
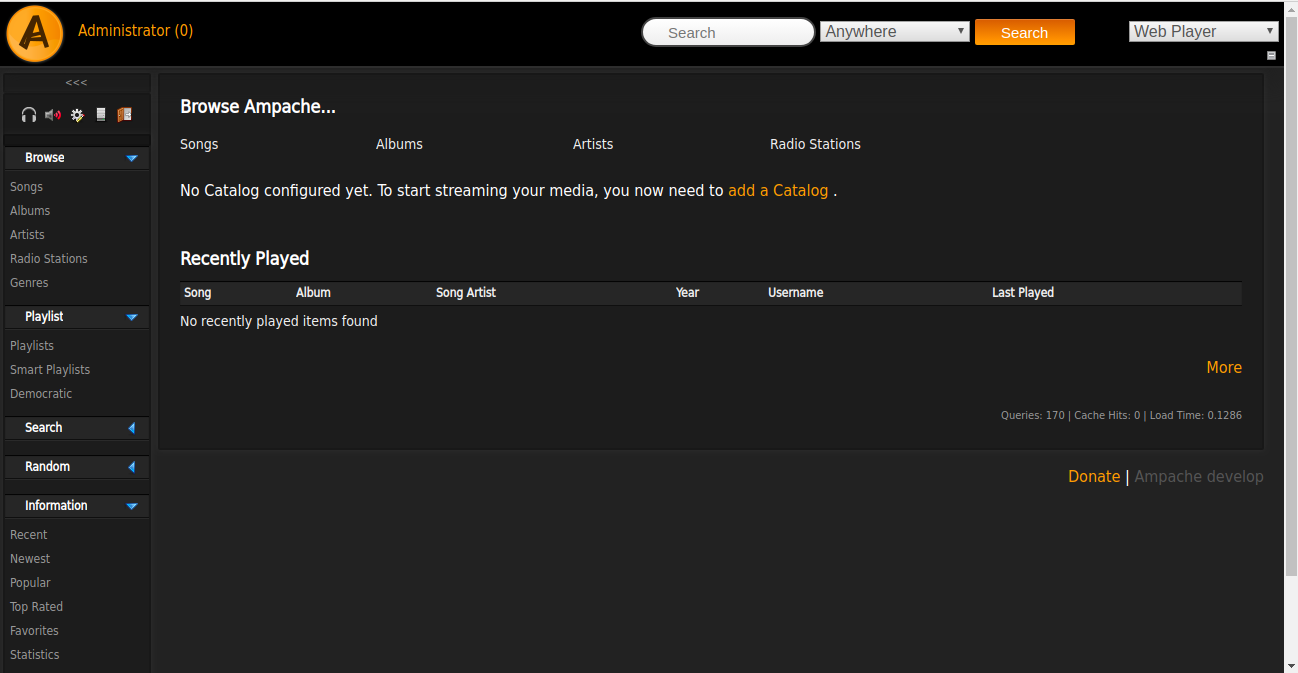
Ampache’s usefulness is heavily dependent on being able to extract correct metadata from embedded tags in your files and/or the file name. Ampache is not a media organizer; it is meant to be a tool that presents an already organized collection in a useful way. It assumes that you know best how to manage your files and are capable of choosing a suitable method for doing so.
Features:
- Music Collection
- Music Streaming
- Open Source
- Ampache everywhere
Requirements:
- A web server that supports Ampache
- Apache
- nginx
- IIS
- PHP 7.1 or greater. (Currently tested on php7.4-fpm)
- PHP modules:
- PDO
- PDO_MYSQL
- hash
- session
- json
- intl (Ampache develop)
- simplexml (optional)
- curl (optional)
- GD
- For FreeBSD The following php modules must be loaded:
- php-xml
- php-dom
- php-intl (Ampache develop)
- MySQL 5.x / MySQL 8.x / MariaDB 10.x
Note: After enabling extensions in the php.ini file, restart the app server.
To enable extensions refer to the below link:
https://cloudjiffy.com/portal/knowledgebase/152/Extensions-in-PHP.html
How to install Ampache on Cloudjiffy?
STEPS –
Step 1: Login to CloudJiffy.
Go to https://app.cloudjiffy.com/
Login using your credentials.
Step 2: Create Environment with Apache server and DB server
Click on New Environment > Select Apache and DB server
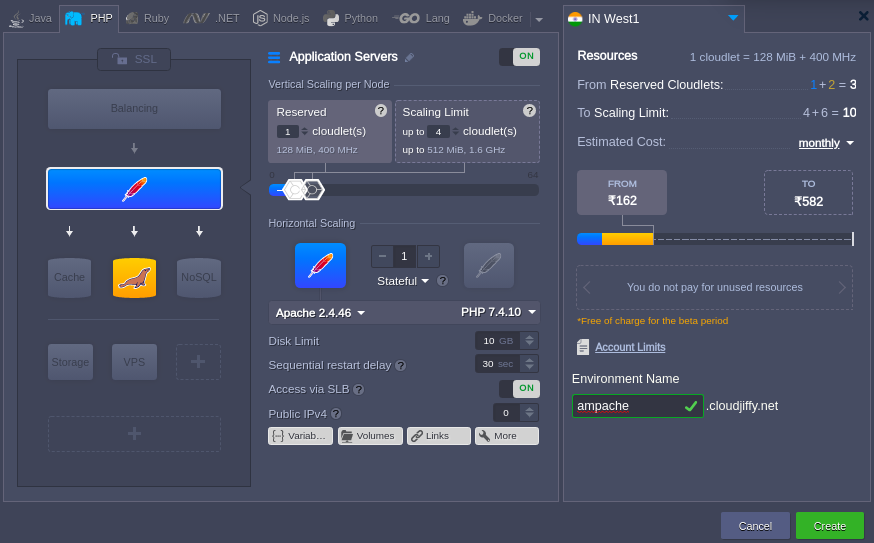
Note: You will get the PHPMyAdmin link and its credentials on the registered email id. Create the database.
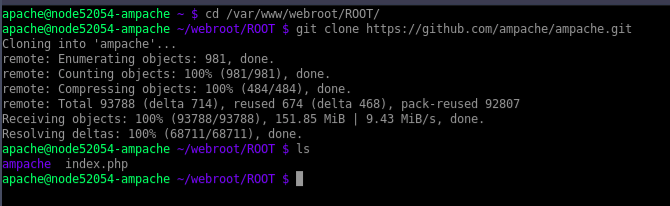
Step3: Installation of Ampache
Take the webssh of the app server and do the following commands:
cd /var/www/webroot/ROOT/
git clone https://github.com/ampache/ampache.git
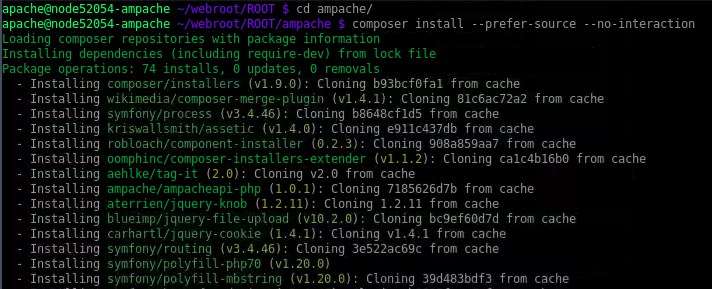
Step4: Installation of Composer
Composer is used to manage dependencies.You should download it and install it (e.g: mv composer.phar /usr/local/bin/composer)
In cloudjiffy composer is already installed. So you can run following command directly on ampache directory.
composer install –prefer-source –no-interaction
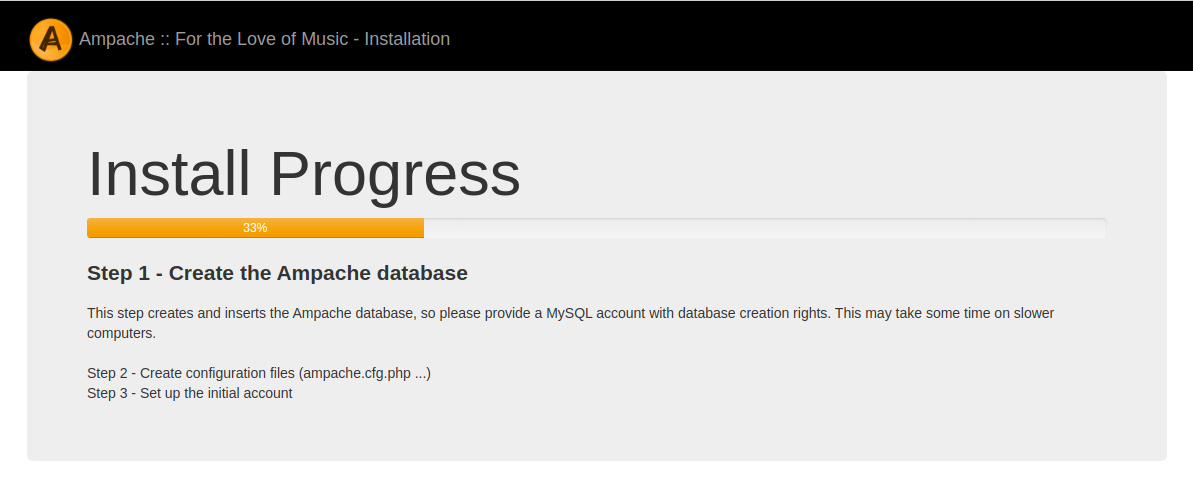
Step 5: Installation of Ampache
Browse the link:
http://ampache.cloudjiffy.net/ampache
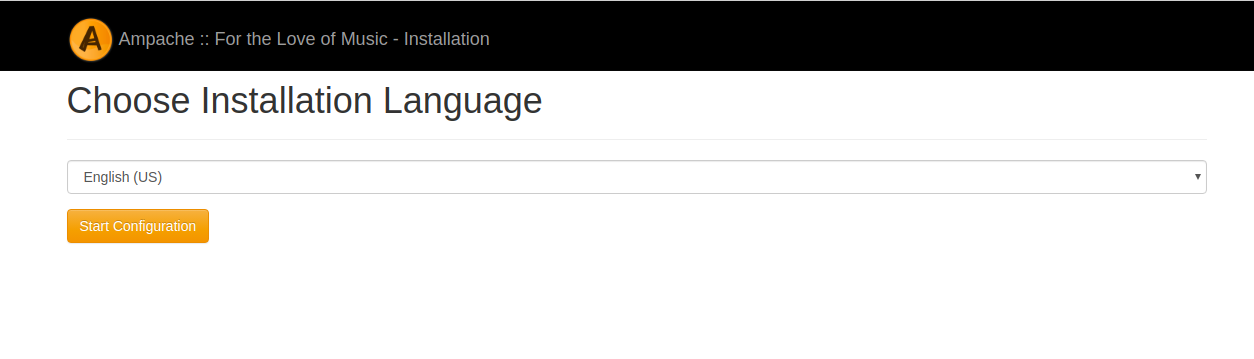
Select the language and press “Start Configuration”

Check all errors and warnings about your environment.
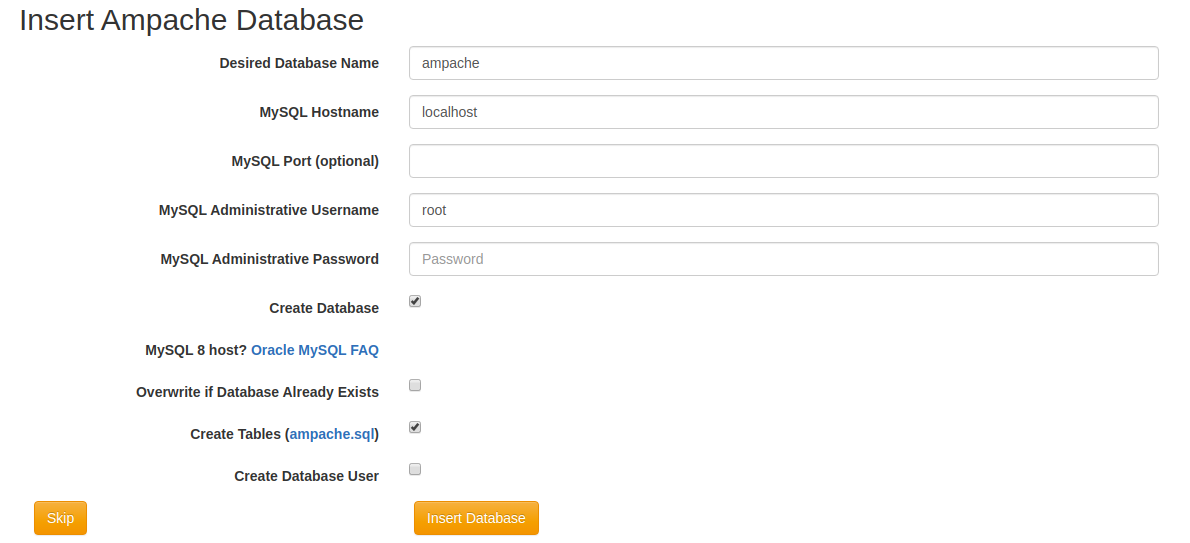
Fill out the form with the database information which you got on email and then click on “Insert Database”.

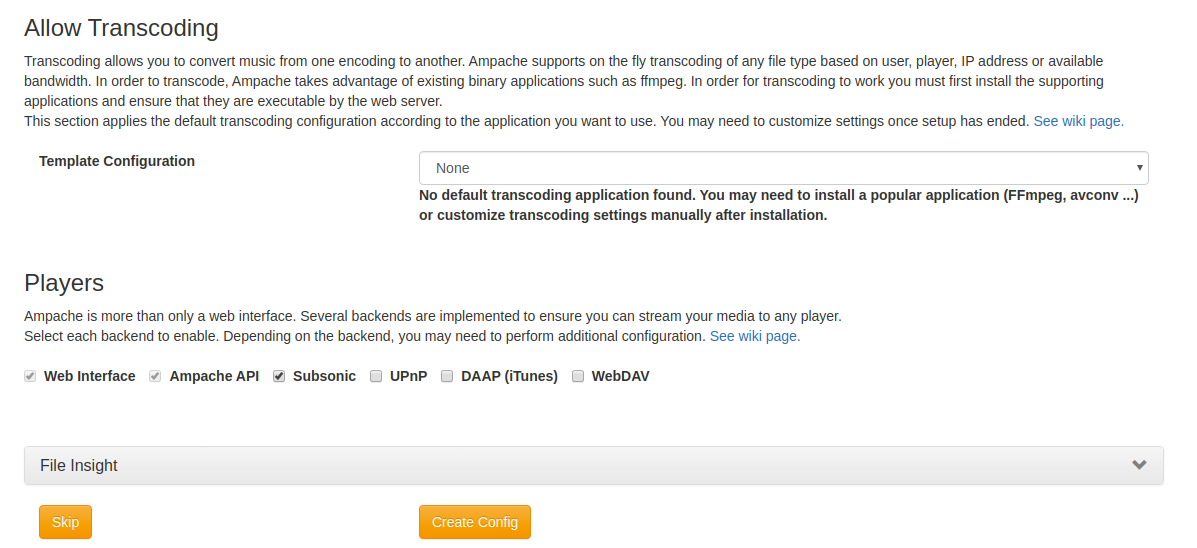
Note: If needed you can install the FFmpeg.
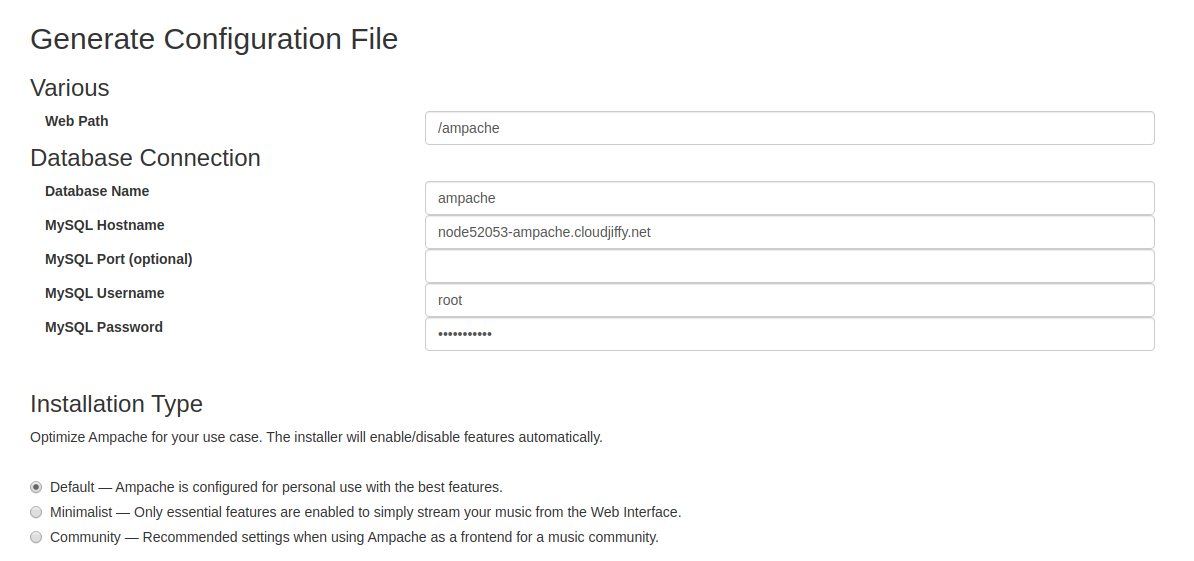
Click on Create Config.

The final step of installation is to create the initial administrative user.
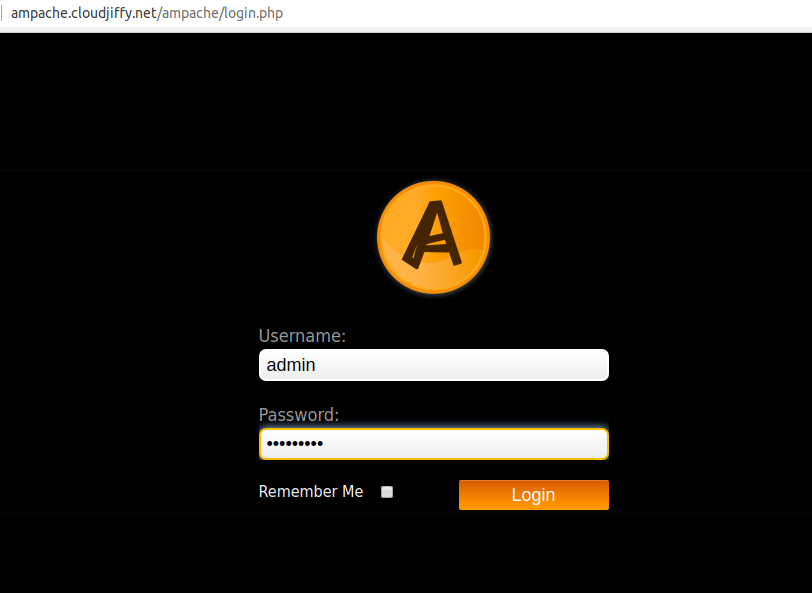
Add the administrative credentials and you will be login to the Ampache.
Post Installation Tasks
You might want to look at the Ampache config file in config/ampache.cfg.php.dist. There are many options available that allow you to customize and change almost every feature available.
Don’t have a CloudJiffy account? Visit https://cloudjiffy.com and click on Free Signup for free 14 days trial.