
AbanteCart at CloudJiffy

AbanteCart is a free PHP-based eCommerce solution for merchants to provide the ability to create an online business and sell products online quickly and efficiently. AbanteCart application is built and supported by experienced enthusiasts that are passionate about their work and contribution to the rapidly evolving eCommerce industry. AbanteCart is more than just a shopping cart, it is a rapidly growing eCommerce platform with many benefits.
Features:
- Multi-Store
- Mobile & Tablet optimized
- Flexible product & options
- Customize your products
- Categorize products
- Powerful product’s media
- Digital products
- Migrate and import products
- Customer dashboard
- Store credits and account balance
- International Customer Support
- Security and Data encryption
- Powerful Admin Panel
- Usability
- Layouts Management
- Order Management
- Seamless Shopping
- Boost Sales
- Define Shipping and Payment
- Email Marketing
- Banners
- Embed products and content
- Integrations
- Integrated Analytics and Reporting
- Automated Tax
- Technology
- Extend the functionality
- Extension installation
Requirements:
- Web Server (Apache, recommended)
- PHP 7.4+ supported
- MySQL v5.7+. Note MySQL v8 require php 7.4+
- Curl or fsock support
- GD support
- fileinfo php extension
Note: After enabling extensions in the php.ini file, restart the app server.
To enable extensions refer to the below link:
https://cloudjiffy.com/portal/knowledgebase/152/Extensions-in-PHP.html
How to install AbanteCart on CloudJiffy?
STEPS –
Step 1: Login to CloudJiffy.
Go to https://app.cloudjiffy.com/
Login using your credentials.
Step 2: Create Environment with Apache server and DB server
Click on New Environment > Select Apache and DB server
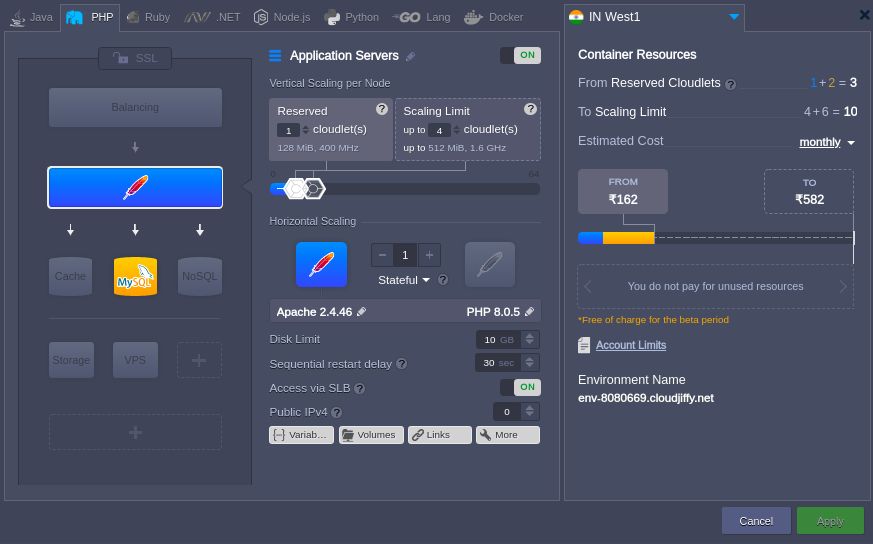
Note: You will get the PHPMyAdmin link and its credentials on the registered email id. Create the database.
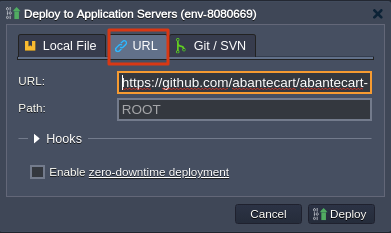
Step3: Download
Browse this link https://www.abantecart.com/download and copy the link location and you can upload it from the deployment option.
https://cloudjiffy.com/portal/knowledgebase/37/Deploy–PHP-Project-Via-Archive-URL.html
Step 4: Create the Database
The PHPMyAdmin link and its credentials you will get on your email when you create the environment.
Open the PHPMyAdmin link in the browser and add the details:
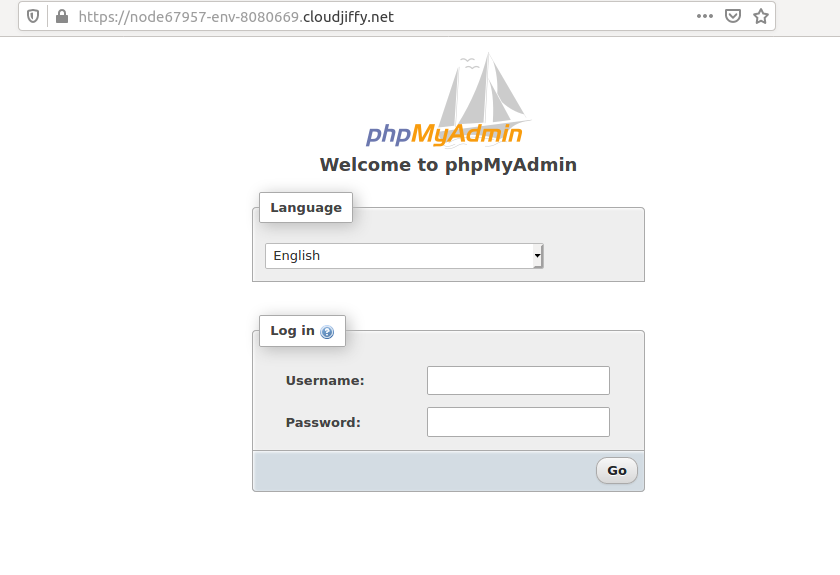
Create the database in it.
Step 5: Start the installation
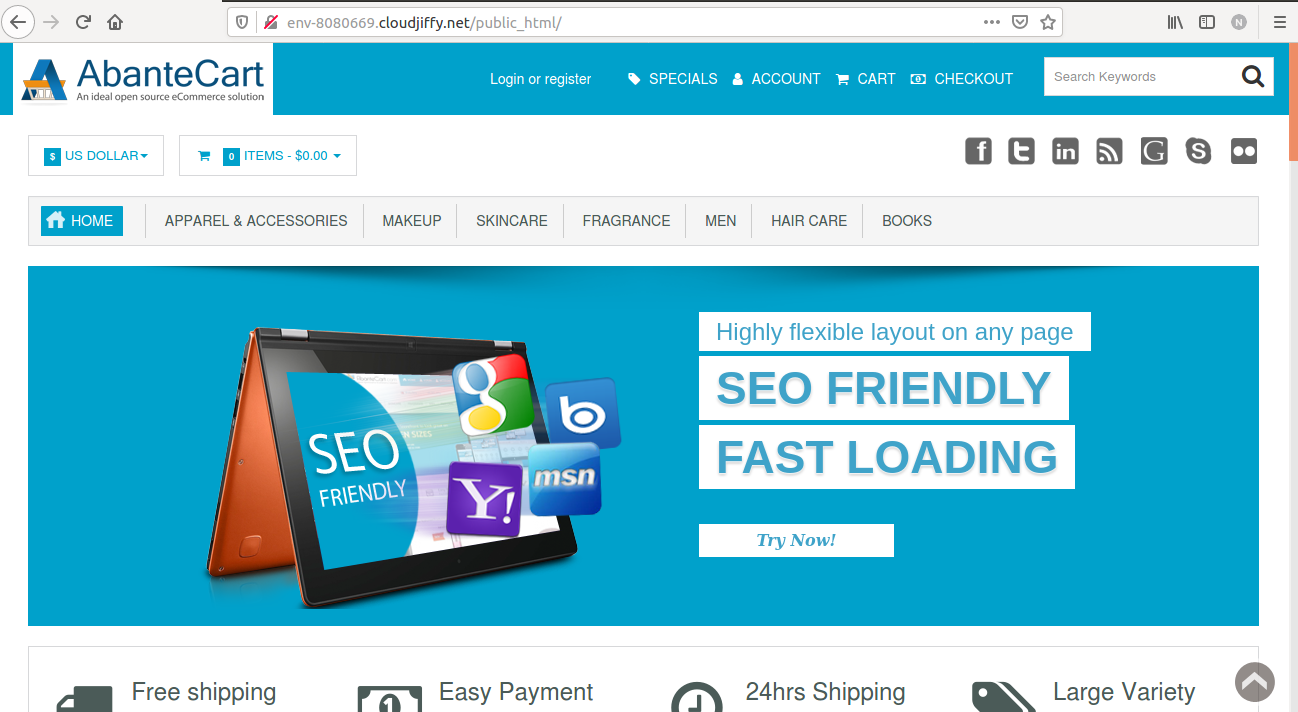
Browse the link http://env-8080669.cloudjiffy.net/public_html
The installation process will be started:
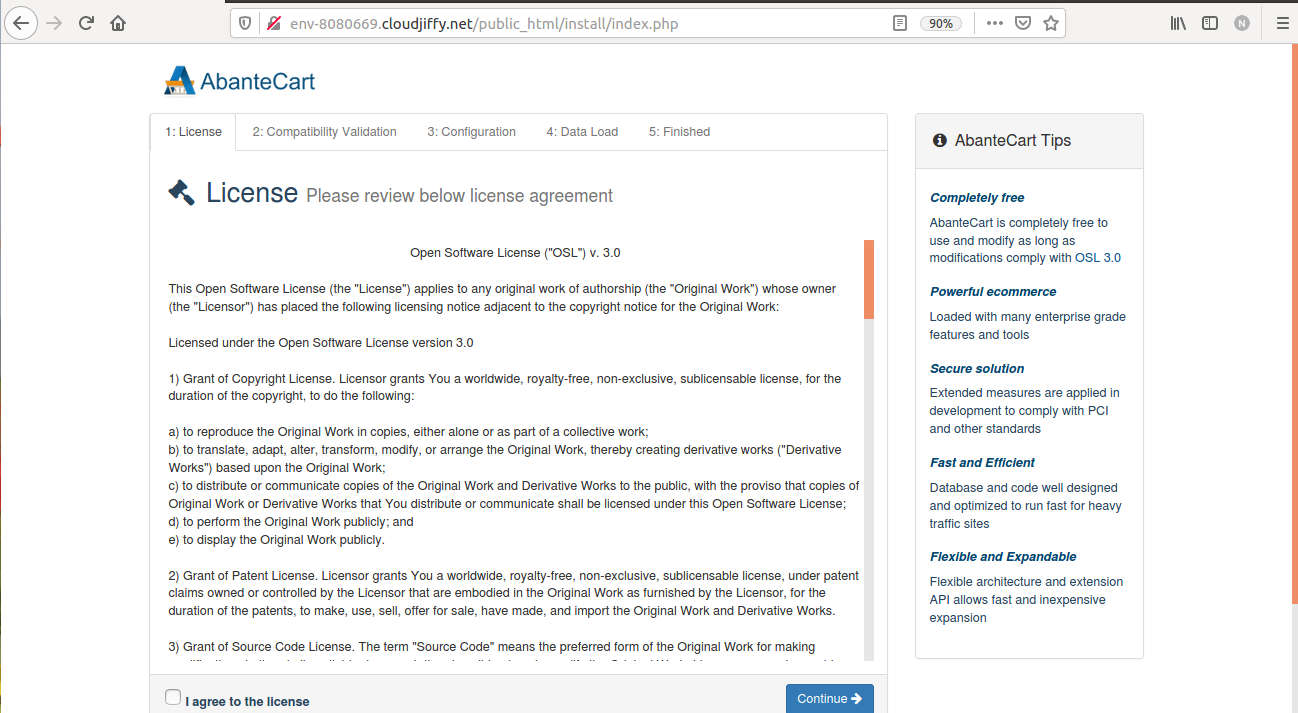
Accept the license and click on continue
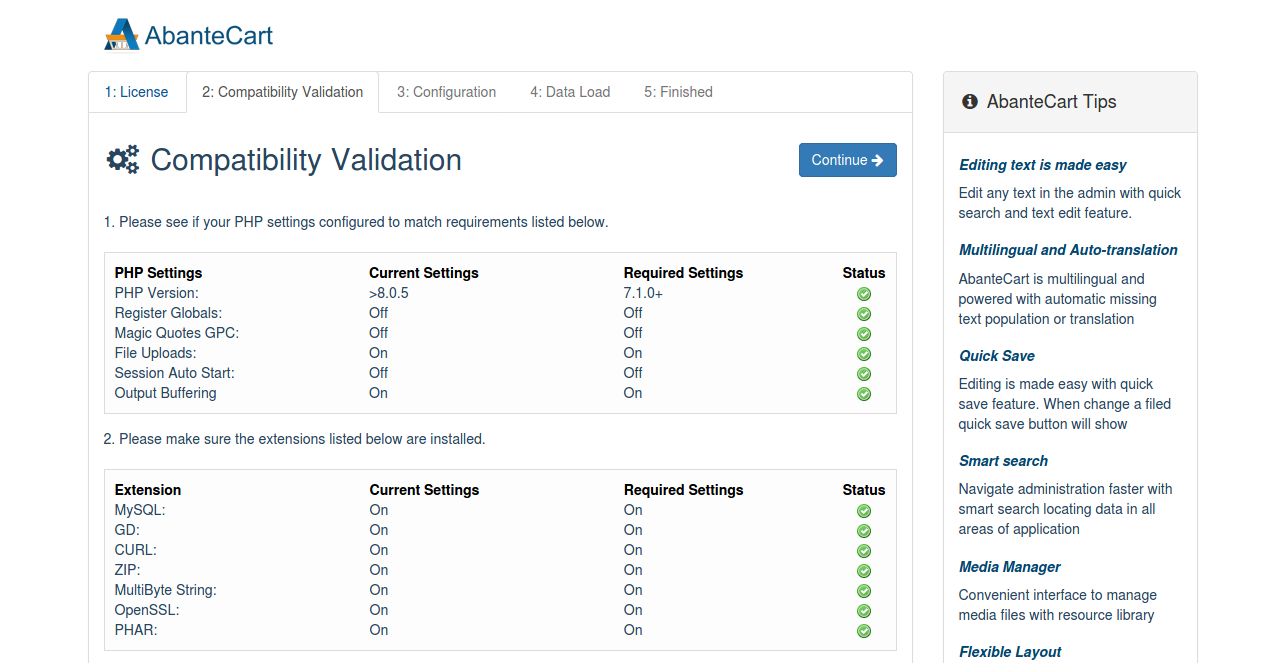
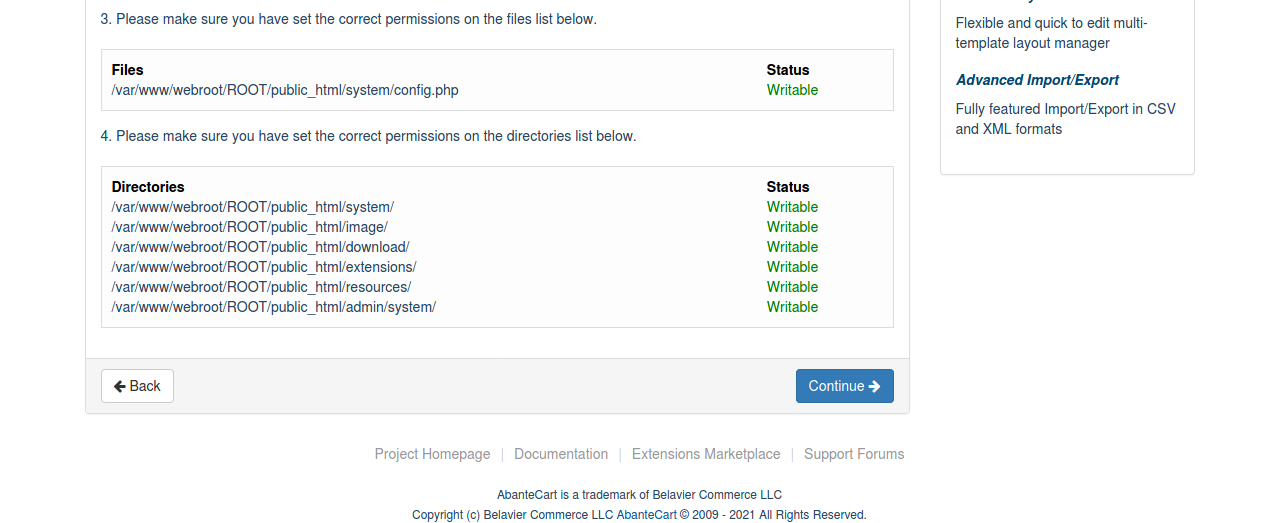
It will check if the requirements are fulfilled or not. In this all requirements are fulfilled so click on continue.
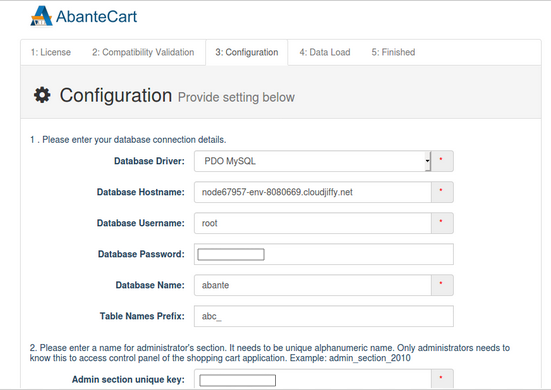
Add the database credentials and the admin section unique key which is used while accessing the admin panel.
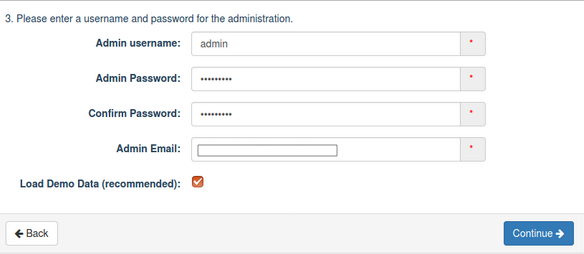
Add the Admin details for accessing the admin panel and click on continue. It will process the data and start the installation process.
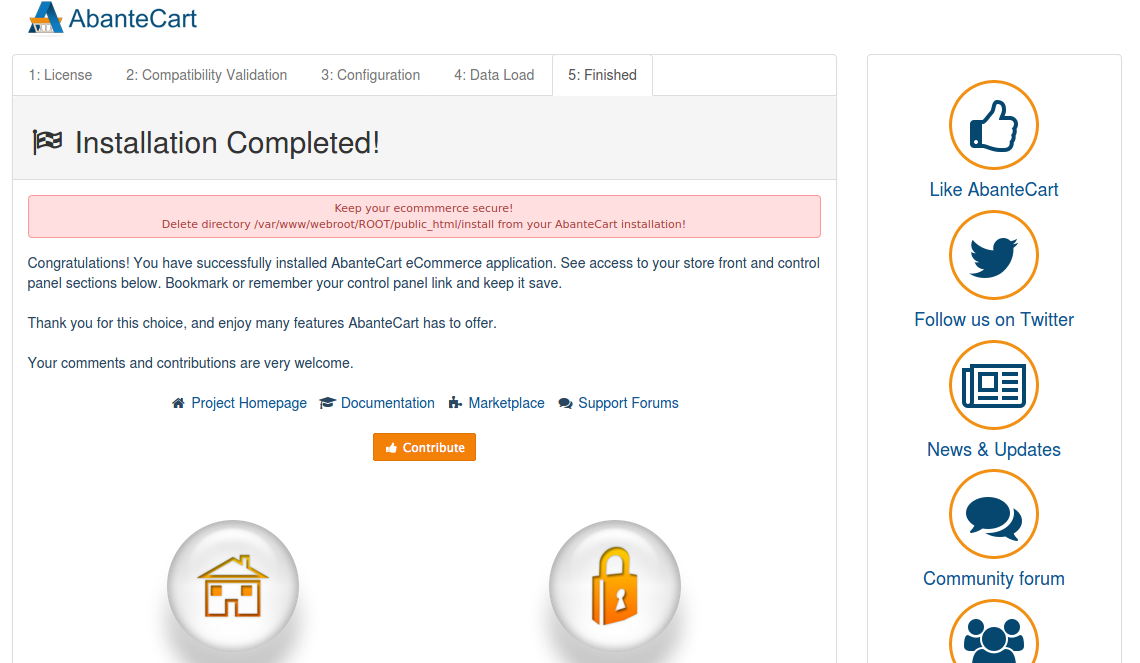
Once the installation completed delete the directory /var/www/webroot/ROOT/public_html/install
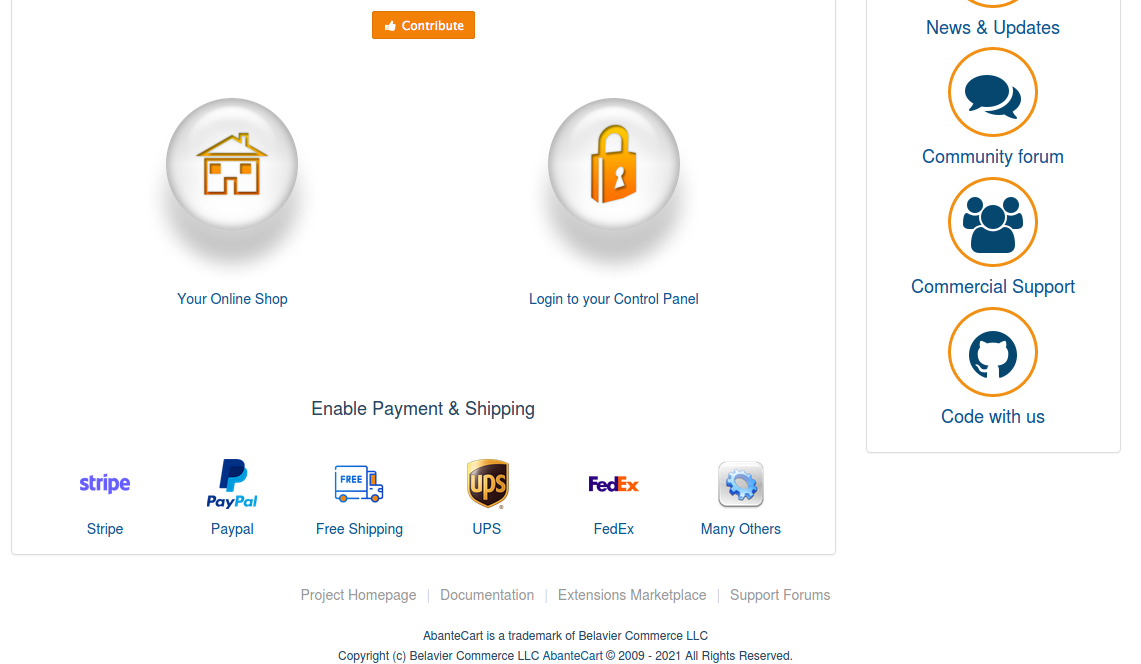
Now you can access the link:
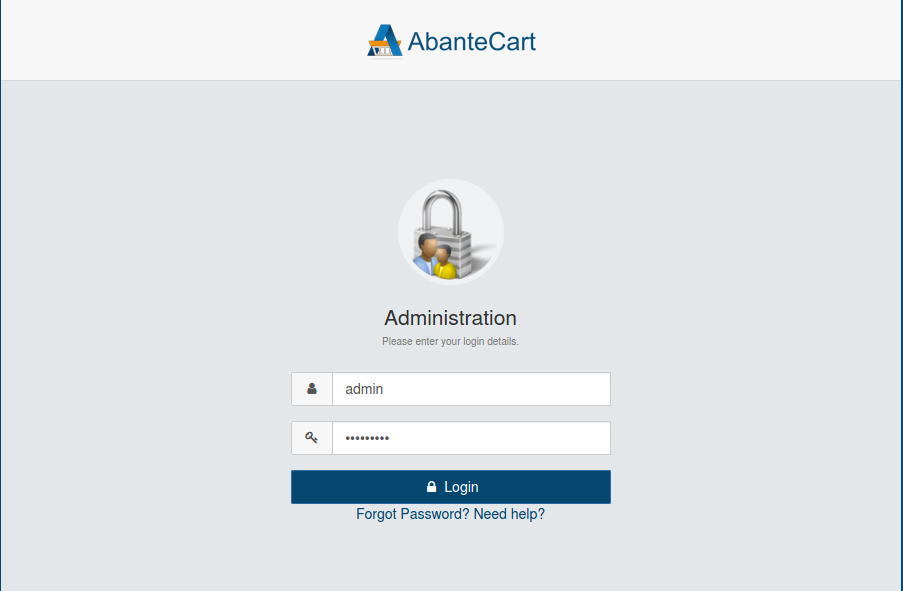
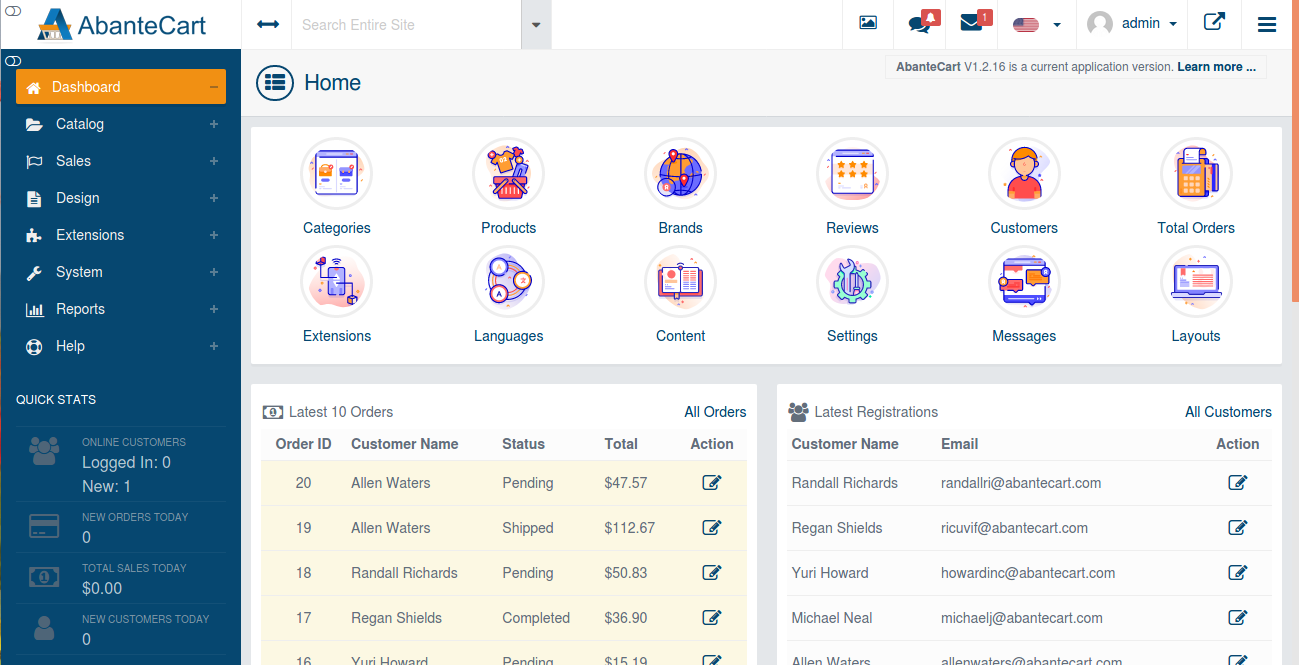
To access the admin area, refer to the below link:
http://env-8080669.cloudjiffy.net/public_html/?s=admin_section_unique_key
Note: add your key instead of admin_section_unique_key.
If you lost or forgot the secret_admin key, you can always find this in your configuration file on your server …/system/config.php
Look for the line: define(‘ADMIN_PATH’, ‘secret_admin’);
Note: You can change the document root in the /etc/httpd/conf/httpd.conf
Don’t have a CloudJiffy account? Just visit our website and click on ‘Free Signup’ and get a trial for 14days.