Installation and Configuration of Bagisto in CloudJiffy
Bagisto is a hand-tailored E-Commerce framework built on some of the hottest open-source technologies such as Laravel (a PHP framework) and Vue.js a progressive Javascript framework.
Bagisto can help you to cut down your time, cost, and workforce for building online stores or migrating from physical stores to the ever demanding online world. Your business — whether small or huge — can benefit. And it’s very simple to set it up.
Features:
- Multi-store inventory
- Product SEO
- Search by Image
- Access Control Level
- Insights Report
Why use it on CloudJiffy?
- Easy to manage
- Charges based purely on consumption (Pay As You Consume pricing)
- Real-time scaling with an increase in users
- Data replication and backup solution to keep your data safe.
- Highly secure infrastructure
- Inbuilt CDN to cater to a worldwide audience
Requirements:
- Web Server (nginx, Apache)
- Database (MySQL – 5.7.23 or higher / MariaDB – 10.2.7 or Higher)
- PHP 7.2.0 or higher
- PHP extension: gd and intl
Note: After enabling extensions in the php.ini file, restart the app server.
To enable extensions refer to the below link:
https://cloudjiffy.com/portal/knowledgebase/152/Extensions-in-PHP.html
How to install Bagisto on Cloudjiffy?
Step 1: Login to CloudJiffy.
Go to https://app.cloudjiffy.com/
Login using your credentials.
Step 2: Create an environment in Cloudjiffy with Apache/Nginx App server and Mysql/MariaDB server.
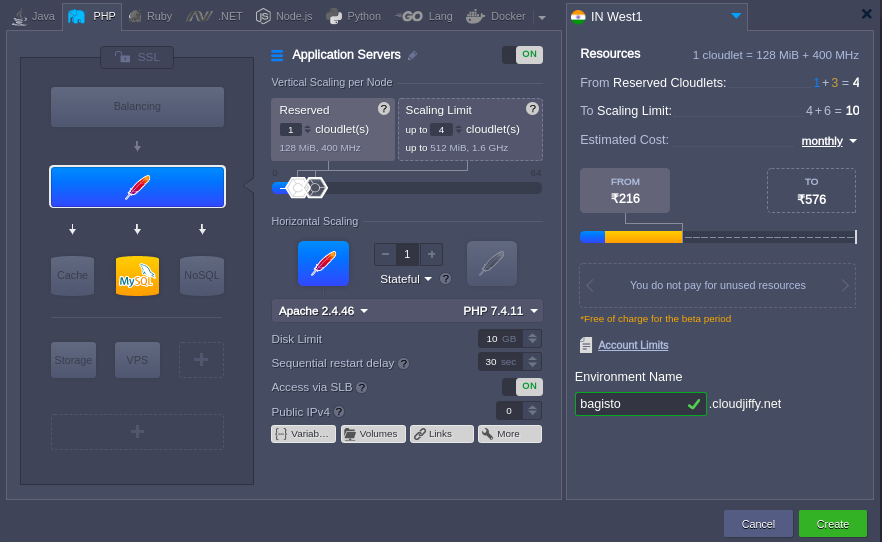
Note: You will get the PHPMyAdmin link and its credentials on the registered email id. Create the database.
Step3: Installation of Bagisto
Take the webssh of the app server and do the following commands:
cd /var/www/webroot/ROOT/
composer create-project bagisto/bagisto
After successful installation you can see below:
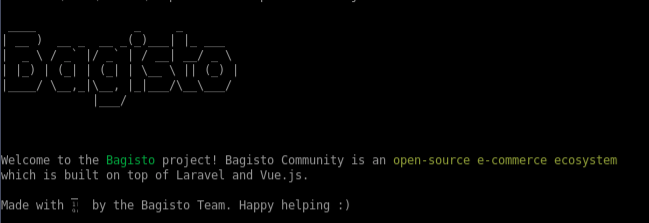
Now, browse the below link and it will start for installation process:
http://bagisto.cloudjiffy.net/bagisto/public/
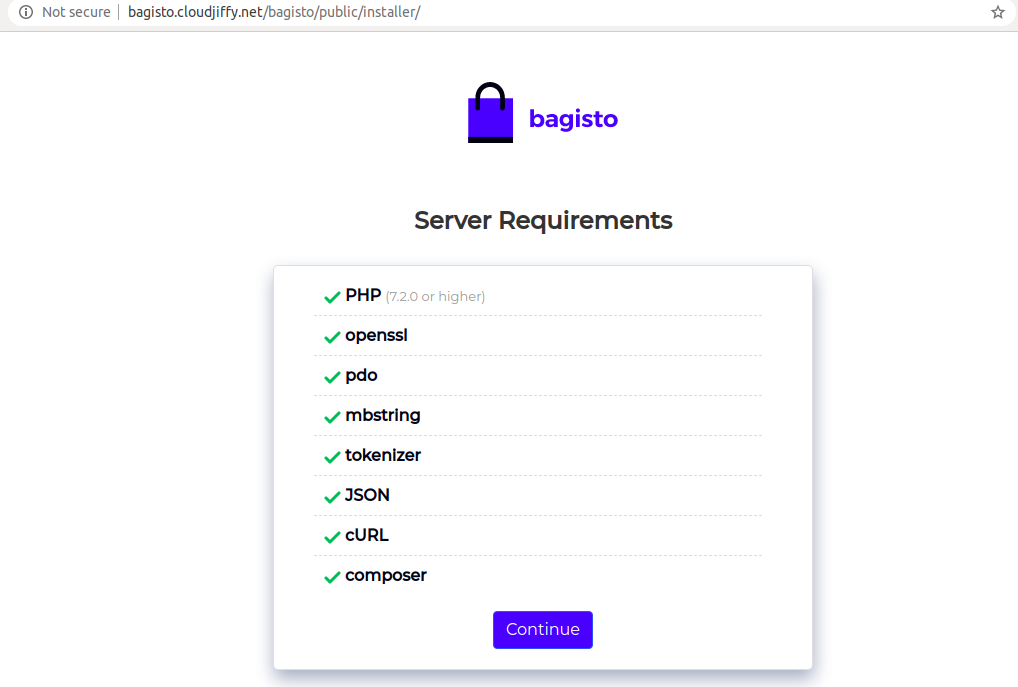
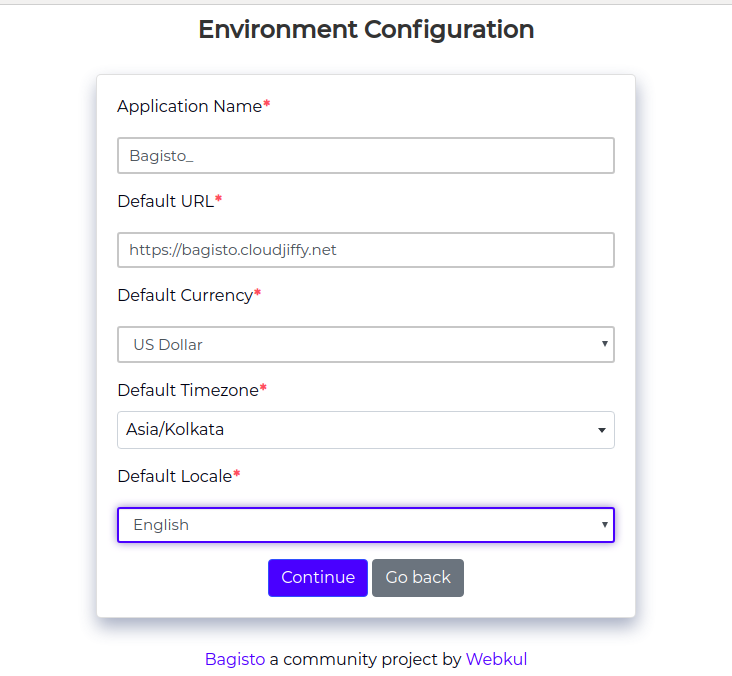
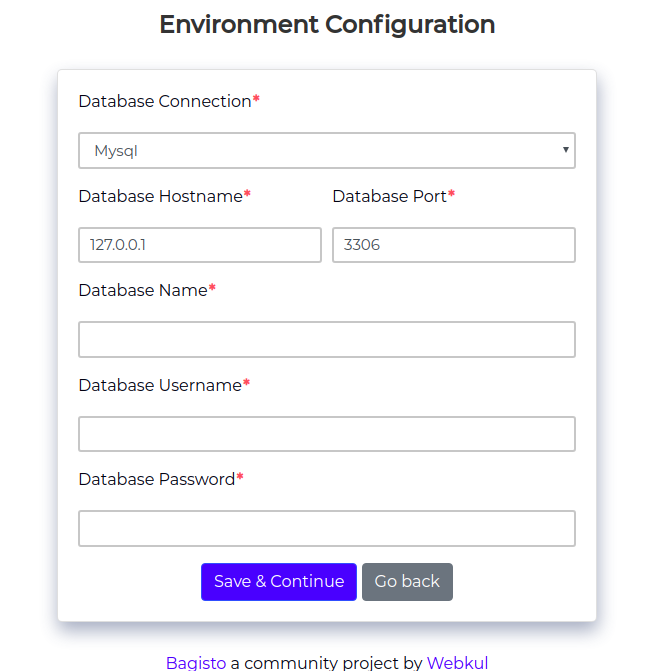
Add Mysql details which you got on the email.
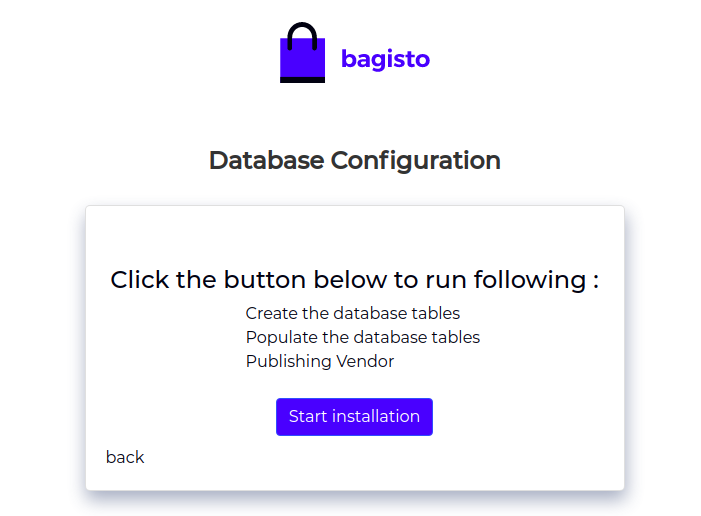
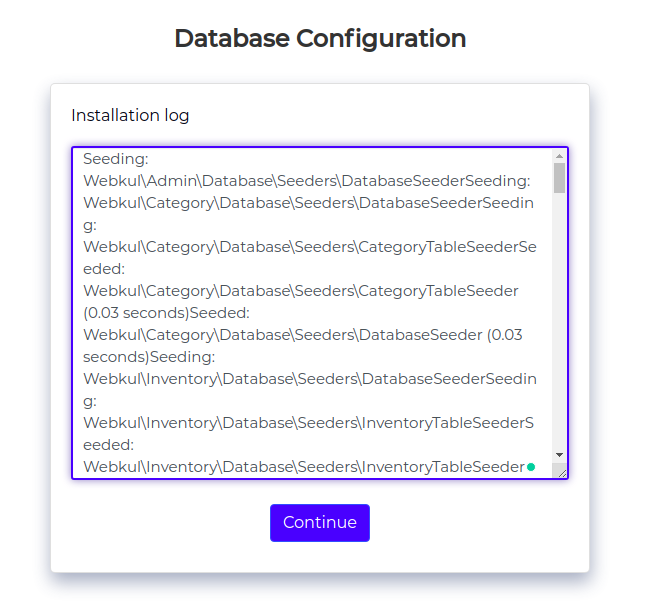
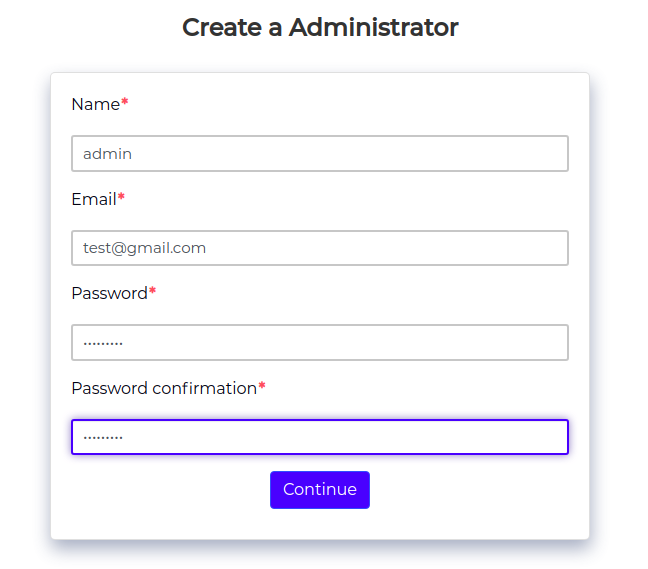
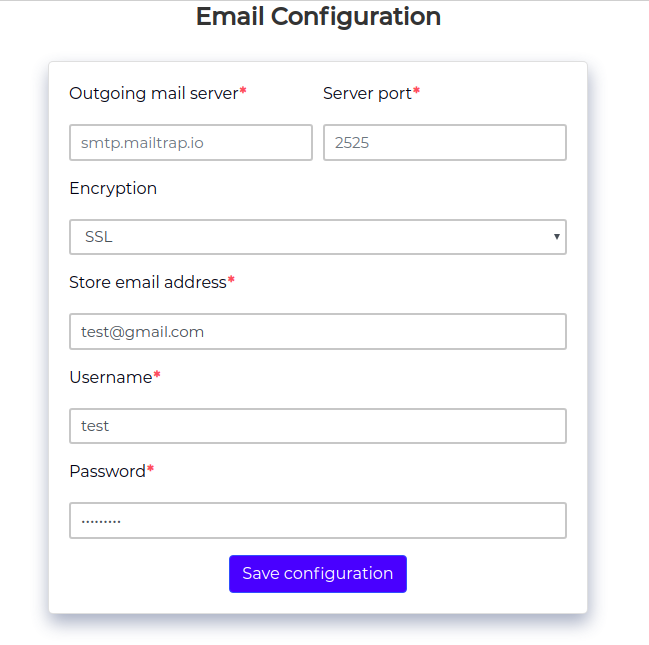
After successful installation, you will see the Sign In page add the details and you will see the below admin page.
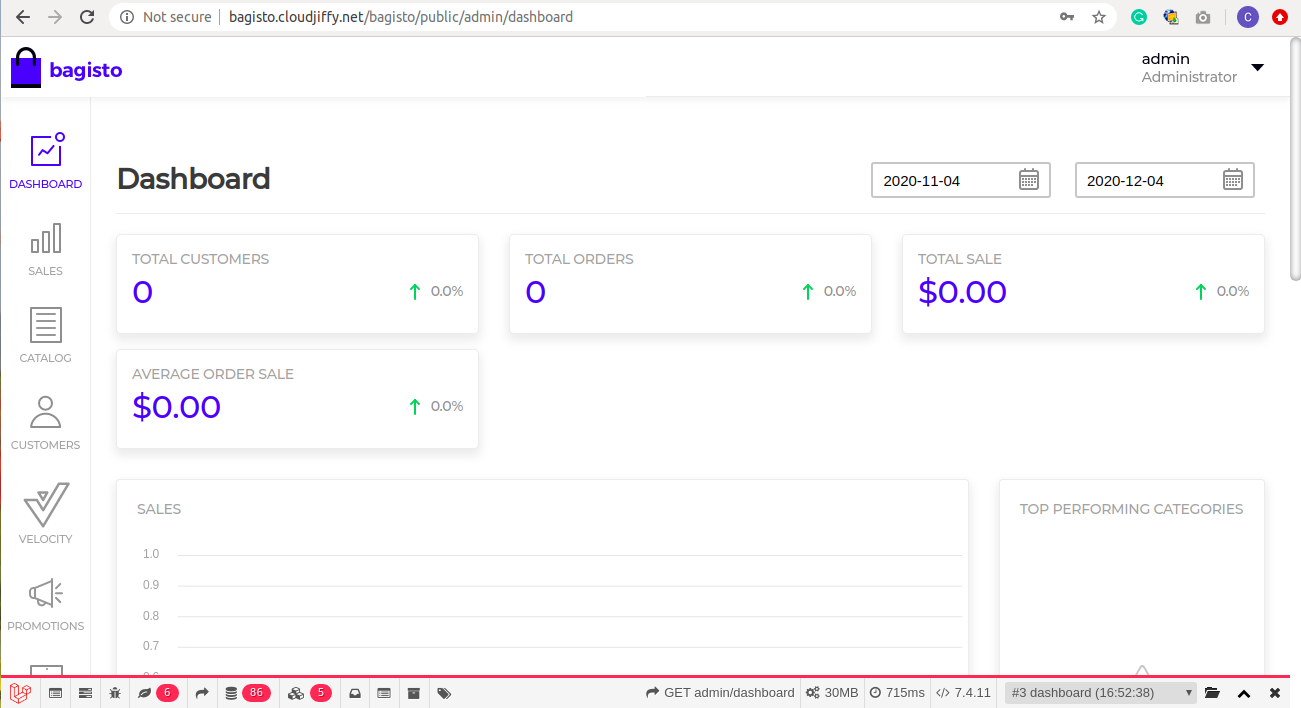
To see the default page you can browse the below link:
http://bagisto.cloudjiffy.net/bagisto/public/

Don’t have a CloudJiffy account? Visit https://cloudjiffy.com and click on Free Signup for a free 14 days trial.
