How to Install High Availability Cyclos Cluster for Online Banking Systems
Cyclos is an online banking software for local banks, microfinance institutions. It is open-source software that gives complementary currency systems like LETS, TD4W Credits, Barter networks, and time banks. It has a high level of flexibility and highly customizable software. With the dynamic structure of Cyclos, you can create a dedicated payment system from scratch just by changing the configuration.
Main Features are:
- E-Commerce.
- Online & Mobile Banking.
- PoS & Cards.
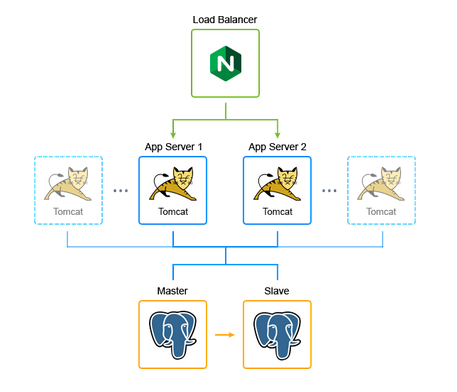
This guide shows how to easily get a complex Cyclos cluster with master-slave database replication, scalability, and High Availability ensuring redundancy enabled within Cloudjiffy PaaS. This installation process is fully automated.

Due to high availability, it prevents performance troubles and failed transaction troubles that can affect your business. It provides high redundancy because the application is extended across a number of servers. It ensures that if one server fails, the users from that node will be automatically switched to the other instance of this Tomcat cluster. Due to the replication, the other instance already has all the sessions of the failed node, so end-users never notice any change. In addition, the PostgreSQL database master-slave replication improves the performance and the failover capabilities of the solution.
Cyclos Cluster Installation
Login to your Cloudjiffy account https://app.cloudjiffy.com/ using your credentials.
Go to the Marketplace tab on the top of the interface.

Find the Cyclos 4 PRO cluster in the Marketplace and click Install.

If required choose the Cyclos version, change the Environment Name, Display Name, Region, and click Install.

Once the Cyclos 4 PRO cluster installation is completed the topology looks as follows:

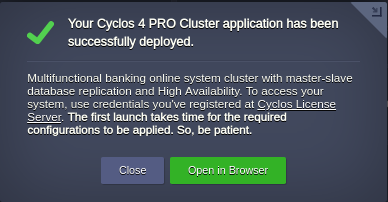
Open your Cyclos license server authentication page pressing Open in Browser in the successful installation window.

Note:
- Please wait for some time for the initial home page to reflect.
- If you don’t have an account, please click on the Cyclos License Server link to proceed with registration.
Follow and complete the steps of the Cyclos configuration wizard using the credentials you’ve registered at the Cyclos site before.


That’s all! Now you have your own Cyclos 4 up and running.
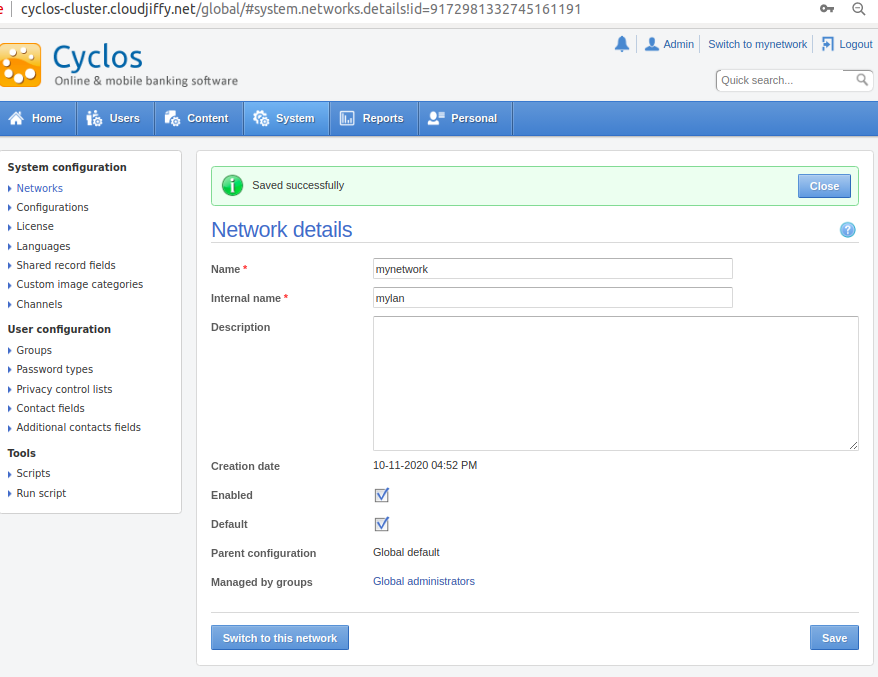
Pass through 12 steps of the configuration wizard in order to create your new network. Filling out the configuration forms, pay attention to the tips and descriptions.

As soon as a new network is created, save the configuration and click on the switch to this network button.

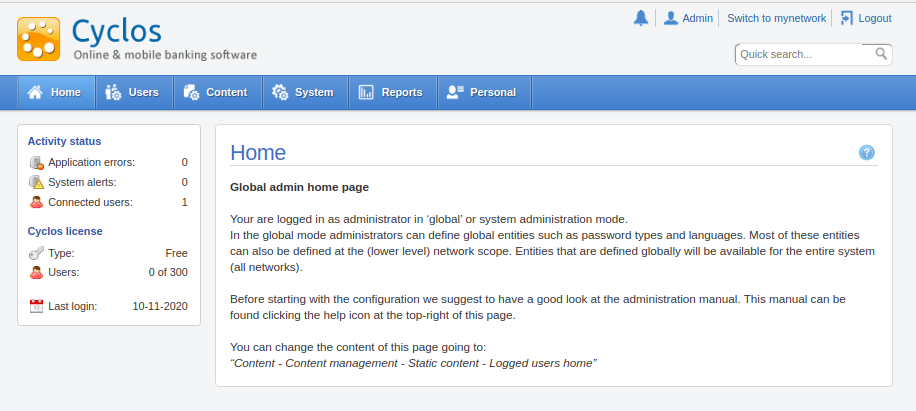
The home page of the new network looks as follows:

Finally, restart application server nodes with the Restart Nodes button at the Cloudjiffy dashboard.

Refresh the Cyclos application web page or press the Open in Browser button to get both application servers re-read configuration and start working in High-Availability mode.
This cluster ensures the high availability, that no server is a single point of failure. The cloud makes sure that one server failure doesn’t overload the rest.
Use Let’s Encrypt SSL Add-On to secure traffic to your Cyclos portal.
To feel the benefits of your own banking system hosted in the cloud try out Cloudjiffy.
Don’t have a CloudJiffy account? Visit https://cloudjiffy.com and click on Free Signup for free 14 days trial.
