How to deploy Ametys CMS to the Cloud
Many industrial companies and public administration stakeholders have to manage many sites (institutional, events, portal, intranet, blog, wiki, and so on) on a unified platform and also have a need for a user-friendly and intuitive interface for new users. That is the market that Ametys targets. Ametys is an efficient easy-to-use open-source Web CMS (WCM or WCMS). It embeds the best technologies to create rich websites. This WCMS is used by more than 30000 websites. It has been designed especially for large corporations and public institutions (administrations and higher education).
Let’s deploy Ametys to the cloud and start using it right now!
Why use it on CloudJiffy?
- Easy to manage.
- One-Click Installation.
- Charges based purely on consumption (Pay As You Consume pricing) Thus helps you save cost.
- Real-time scaling with an increase in users.
- Data replication and backup solution to keep your data safe.
- Highly secure infrastructure.
- Inbuilt CDN to cater to a worldwide audience.
Environment Creation
Through the Cloudjiffy web interface a Ametys CMS instance can be automatically deployed in a few clicks.
STEPS
Step 1: Login to CloudJiffy.
Go to https://app.cloudjiffy.com/
Login using your credentials.
Step 2:Click on “Marketplace” to view the list of applications that can be installed automatically.

Step 3: A new window displaying the Apps will open, Select the “Ametys CMS” instance and click on “Install”.

Step 4: In the opened installation dialog box:
- type Environment name to be used as its internal hostname
- optionally, specify environment Display Name (so-called alias, for being shown within dashboard and SSH terminal)
- select an environment Region (if multiple ones are available)

Click Install and wait a bit to be shown a notification message on this process completes. In a minute, you’ll see a popup frame informing you about the successful package installation.

Configure Ametys
- Now you can open your application in a web browser.
Click the Open in Browser button or you can also browse from your environment.

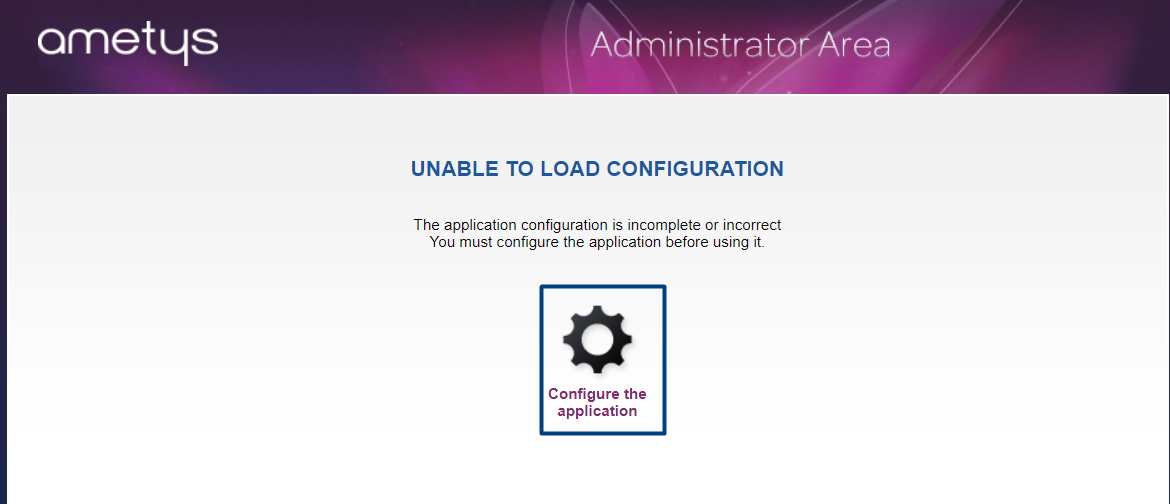
- Click Configure the application to complete the configuration.

- Log in with credentials admin/admin.
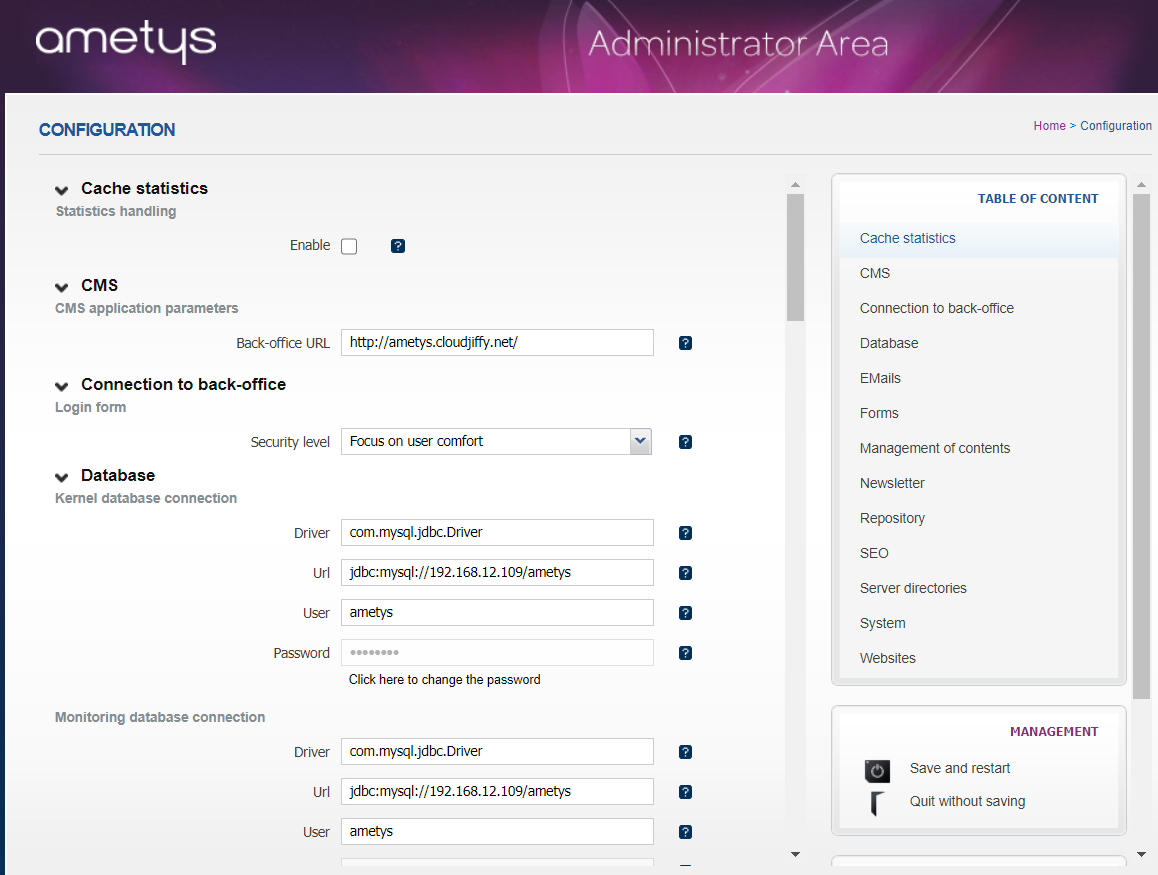
- Fill in all the necessary fields in the form that have appeared: specify the URL to your application, set the database configuration (database URL, driver, username, and password), configure email sending, alerts and reminders on contents, sitemap, uploads management, websites, the path to the repository (in default version it is in the application directory, but it is possible to update it) and so on.

5. Click on Save and restart and voila! – now you can use Ametys CMS with all its functionality.

Don’t have a CloudJiffy account? Visit https://cloudjiffy.com and click on Free Signup for a free 14 days trial.
