Install osTicket on Cloudjiffy PaaS
osTicket is a widely-used open source support ticket system. It seamlessly integrates inquiries created via email, phone, and web-based forms into a simple easy-to-use multi-user web interface. Manage, organize and archive all your support requests and responses in one place while providing your customers with the accountability and responsiveness they deserve.
Features:
- Custom Fields
Customize the data collected from users when submitting a ticket to help get straight to the issue.
- Custom Columns and Queues
A custom queue is a view of tickets based on custom criteria that you specify.
- Ticket Filters
Define rules to route incoming tickets to the right department, agents, as well as trigger actions.
- Help Topics
Configurable help topics for web tickets allow you to route inquiries to exactly the right department for a swift resolution.
- Agent Collision Avoidance
Ticket locking mechanism to allow staff to lock tickets during the response to avoid conflicting or dual responses.
- Assign, Transfer, & Referral
Transfer tickets between departments to make sure it’s being handled by the correct agents, or assign tickets to a particular agent or team of agents.
- Auto-Responder
Configurable automatic reply sent out when a new ticket is opened or a message is received.
- Thread Action
Agents now have the ability to create a Ticket or Task from a Ticket’s thread entry or from a Task’s thread entry.
- Service Level Agreements
SLA Plans allow you to track tickets and due dates without the hassle!
- Customer Portal
All support requests and responses are archived online for end-users.
- Advanced Search
Narrow down your search criteria with Advanced Search.
- Tasks
Create an internal to-do list for agents.
Why use it on CloudJiffy?
- Easy to manage.
- One-Click Installation.
- Charges based purely on consumption (Pay As You Consume pricing) This helps you save cost.
- Real-time scaling with an increase in users.
- Data replication and backup solution to keep your data safe.
- Highly secure infrastructure.
- Inbuilt CDN to cater to a worldwide audience.
Environment Creation
Through the Cloudjiffy web interface, an “osTicket” instance can be automatically deployed in a few clicks.
STEPS
Step 1: Log in to CloudJiffy.
Go to https://app.cloudjiffy.com/
Login using your credentials.
Step 2: Click on “Marketplace” to view the list of applications that can be installed automatically.

Step 3: A new window displaying the Apps will open, Select the “osTicket” instance and click on “Install”.

Step 4: In the opened installation dialog box:
- type Environment name to be used as its internal hostname
- optionally, specify environment Display Name (so-called alias, for being shown within dashboard and SSH terminal)
- select an environment Region (if multiple ones are available)

Click Install and wait a bit to be shown a notification message on this process completes. In a minute, you’ll see a popup frame informing you about the successful package installation.

Access osTicket
- Now you can open your application in a web browser.
Click the Open in Browser button or you can also browse from your environment.

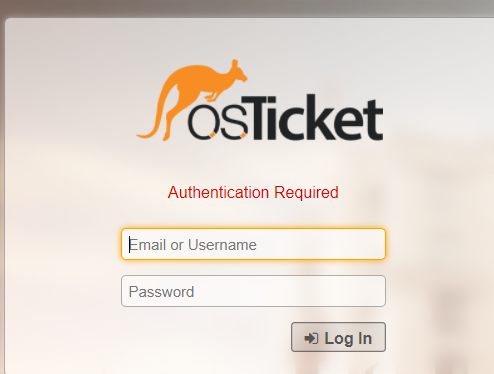
- Login using the access credentials shared with you.

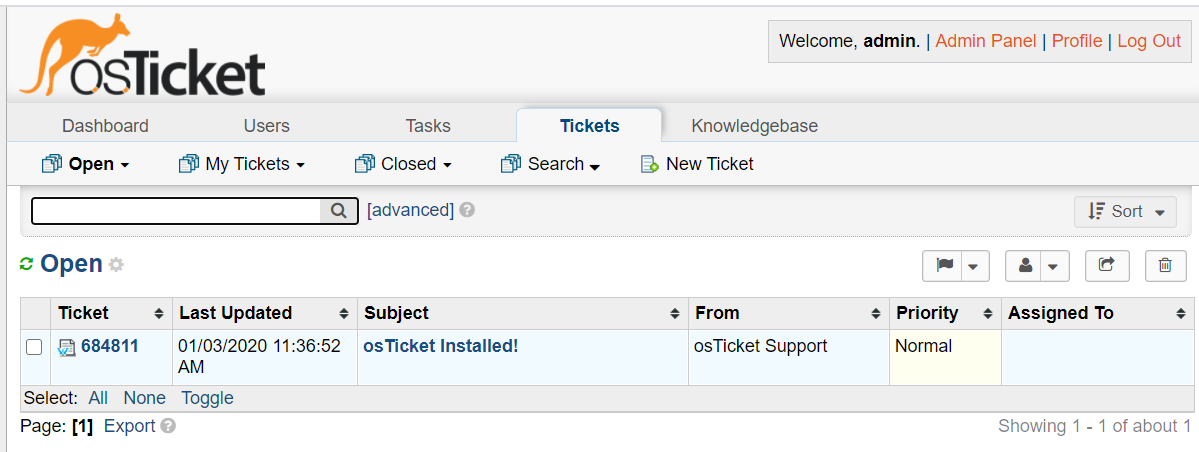
- Congratulations! Now you can use osTicket with all its functionalities.

Don’t have a CloudJiffy account? Visit https://cloudjiffy.com and click on Free Signup for a free 14 days trial.
